Showing posts with label My Cut File Designs. Show all posts

Friday, 8 February 2013

LOTV Japanese Birthday for my sis’ 18th... :)

Hello everyone!! :)

My ‘baby’ sister turned 18 in November (where the time went I do not know!!lol) and today I am going to show you the card I made for her...


As some of you who have been following my blog a while may remember from last year’s card, my sis has a fascination with all things Japanese and when I was wracking my lil’ old brain to think up a card that would be truly special for her, I remembered the fab Geisha Girls stamps Lili of the Valley had released a few months previously... and so off I popped for a wee shopping spree as I knew they would be perfect!! :)


I knew I wanted to use my gorgeous Kioshi papers so, after a quick look to choose likely sheets, I settled down to colour the beautiful Aimi with Lantern image with my PMs and FMs... first time I’d done any colouring in ages, colour combos I’d never used before, first time colouring this stamp *and* no time to do-over if it all went horribly wrong after I’d got halfway through... so no pressure on myself there then!! :S lol Luckily, thanks to a spare image (or three!!) to test my colours on first, it actually worked pretty well first time and I was pretty chuffed :) So that was day one... now for a night’s sleep and a rest for my aching neck/back!!lol


Then back again the next day to put image and papers together... I wanted to use this lovely paper with the flowers over one side as my main piece and didn’t think it need too much fuss on it, both because that’s not really my sis’ thing and because the paper is just to pretty to cover up. So I just embellished what was there with glaze, glitter and some stamped Japanese- my sis says Kanji?!l- characters which I gilded with Flitter Glu and flakes... all (except perhaps the glitter, but you just *have* to have glitter, right!?!) to add to the traditional gilded and lacquered oriental feel... :)


I cut the numbers on my electronic cutting machine and layered them on another piece from the Kioshi pad with some more gilded characters for interest...


For the base of my easel I also cut one of my Cherry Blossom border svgs, which I designed last year, to make the stopper. The happy birthday stamp and handwritten ‘sister’ are heat embossed with gold glitter powder as I don’t ever like the look of gilding on fine text stamps. The final touches were just a few punched butterflies dotted around and some pretty blue pearls :)


The List:

  • 6x6in Sq. White card blank plus extra panel for easel front
  • Geisha Girls Aimi with Lantern stamp from LOTV, stamped in Memento Tuxedo Black and coloured with ProMarkers and FlexMarkers (no list this time as I can't lay my virtual hands on the photo... but if you really want to know something, ask and I'll have another look!!)
  • Basic Grey Kioshi paper pad
  • Scissor blade (from an old broken pair!!) for distressing edges
  • Japanese character stamps from Aspects of Design’s Japanese Plum Blossom stamp plate
  • Indigo Blu Flitter Glu and Variegated Green Gilding Flakes from Crafty Notions
  • Quickie Glue Pen (for gilding flake detail)
  • Diamond Glaze
  • Sakura Clear Stardust pen
  • Happy Birthday stamp from Penny Black, VersaMark ink and Gold glitter embossing powder
  • X-cut label dies
  • Electronic cutter for my own design Cherry Blossom border cut-file and numbers (cut from gold pearl card)
  • Tiny Butterfly punch from Lakeland years ago
  • 3mm Pale Blue Pearls

As I wasn’t going to be seeing my sis’ before her birthday and her main pressies was absolutely not postable (you’ll see why if you stop by next Monday...!!! ;) ), I also made a little gift to pop in the post with her card... a little glass cabochon necklace made with a piece of matching Kioshi paper :)


I added a few coloured beads to the bail on a jump ring for interest and was quite pleased with the pretty way they hung over the heart :)


And a pic of both together :) I was pleased with how they came out... and my sis' loved them too, so smiles all round!! :D

I’d like to enter these in the following challenges (either the card, necklace or both as each challenge allows): Papertake Weekly - Anything Goes :) ; Moving Along with the Times - Only Girls Allowed :) ; Beading Friends Forever - Anything Goes :) ; Inspire Me Fridays - # :) ; Happy Hour Projects Friday Linky Party - 02.08 :)

Thank you so much for popping by today- I truly appreciate the comments people have been kind enough to leave for me and am trying to do better at leaving comments and returning visits just as much as my health/energy allows :) I hope you’re all well and have a lovely weekend!! :) Oh, and don’t forget to pop back on Monday for a special post with my sis’ gift!! :)


Tuesday, 7 February 2012

My first Saturated Canary image... and more Valentine’s over at Dream Valley!! :)

Hey folks!! :)

Sorry I'm a couple of days late with this one- I’ve had a bad week and an even worse last few days... but it’s definitely a case of distraction-therapy rather than waffle-about-it-therapy needed so I’ll do us all a favour and crack straight on with the point of my post...


It’s time for another fab new challenge over at Dream Valley and this fortnight we’d like to see you Valentine’s inspired projects!! :) Another lovely easy one at the moment!! :) We’re sponsored this time by the fabulous Joanna Sheen!! :)


Now, for someone who doesn’t normally do much in the Valentine’s card line I put a rather disproportionate amount of time and effort in to the various digi files I created for the card in my last post and so really wanted to enjoy playing with them while I had the excuse... so this card uses many of the same items along with the rather fabulous addition of one of the (quite a few!!lol) Saturated Canary images I got from the lovely Krista while she had her discount running last weekend!! :)


While not exactly CAS, I did go for a simpler, less busy look to this one as I wanted to see how I could get different looks with the same basic materials... I think the two do have quite different feels to them despite both being suitably masculine... or masculine enough- they are Valentine’s cards after all!!lol


This is by no means the first SC image I have bought or coloured but it is the first that has made onto a completed card so far (Christmas kinda took over!!lol) and I’m pretty happy with how she came out- though I can see massive room for improvement in virtually every area of my colouring... the hair is the *most* glaringly obvious mess-up, but you’ll be kind and not look at that, right!?!!lol Seriously, every time I think I’ve cracked ‘hair’ at last, I prove myself sooo very wrong!! :S I wasn’t sure if I should get this image, if I would get that much use out of it, but I really loved it and I do think I’ll be to use it for plenty of other occasions in different colours :)


I’d cut the circles in alternate colourways and embossed and sanded them as before, then layered them up with some leftover paper. I then had fun with a Fineliner, some gems and a glitter pen!! :) The sentiment stumped me to start with... ‘til I remembered a freebie set of Val’s Day stamps from a mag last year (or maybe the year before!!) and the hearts allowed me to add a pop of red to balance out the gems, too :)


I just took this for my own curiosity regarding the similarities/differences really but thought I may as well add it in!! :)

The List:
  • 6” Sq. White card blank
  • Fab Saturated Canary Digi ‘Love Letter’ from Krista’s Etsy shop, coloured with FlexMarkers, ProMarkers and Fine Nibs (photo included below to save energy!! FMs- Ice Grey 1, Soft Aqua and Copics- Blender and Warm Grey 1)
  • My own design digi paper
  • Core’dinations cardstock- red from the vintage selection, grey an All-in-the-Family pack
  •  My own design embossing mask and cut files for the heart circle and lacy rectangle, created in my graphics program and cut on my Cricut
  • Sanding block for cardstock
  • Black Fineliner and Sakura Clear Stardust pen
  • Red gems 


I’d like to enter this card in the following challenges: Cards for Men– Seeing Red :) ; Joanna Sheen – Love is in the Air :) ; Sarah Hurley – Love is All Around :) ; OSCC – For the One I Love :) ; Allsorts – Free and Easy :) ; Sweet Stampin’ – The One I Love :) ; MiC – Shading Red :) ; Crafter's Companion - Anything Goes :) ; Papertake Weekly - Anything Goes with optional 'Love' theme :)

Well, thanks for stopping by today and I hope you like my first SC card... I’m off to link that lot up now and then have a much needed rest, I think... or maybe the other way around!! :S Hope you’re all keeping well and warm (what a weekend here n the UK, eh?!)!! And don’t forget to pop over to the Dream Valley blog to have a look at all the wonderful inspiration from the rest of the fab team!! :)


Thursday, 2 February 2012

Getting carried away... with Valentine’s at Forever Friends!! :)

Hello lovely Bloggers!! :)

Well, I’ve no clue where January disappeared to- at this rate 2012 will pass me by in even more of a flash than 2011, which I would hardly have thought possible!! :S – but disappear it has and so it is time for our February challenge over at The Forever Friends & Co. Blog!! :)


This time we have a very seasonal theme for you as we would like to see your Valentine’s cards... should be nice and easy for most people if all the gorgeous Valentine’s creations I’ve been seeing recently are anything to go by!! :) We are sponsored this time by Di’s Digi Downloads!! :)


I got a bit carried away with this one as I made everything on the card myself on my netbook- the digi paper, the cut files for my electronic cutter for the ‘Nestie’ shapes and even a cut file to make my own embossing mask from Doeflex for the first time- I’ve been wanting to try that for ages!! :) Took a while to get it all sorted but, as I don’t normally make many Valentine’s cards, I didn’t have much already in my stash that would work and once I started, I could just see so many other possibilities...  I had a great time doing it, though, and it’s a nice feeling to know I designed and made it all bar the stamp myself!!lol Anyway, here it is:


I knew I had this image, which I had already coloured ages ago, in a box by my desk (somewhere!!lol) and this colour combo is one I love (since I made quite a few V’s Day cards from a kit all in black, white, silver/grey and red a few years ago to fundraise for charity- about the first time I used red on a card and liked it!!) so the first stage of the creative process was all sewn up from the start!!lol The computer aspects took ages (a bit at a time in bed over the last week or so!!lol) but I have the files for future use now and, as all that prep was done, putting the card together once everything was printed and cut actually took no time at all, especially as I decided the graphic look to the papers and made it seem more masculine so kept the embellies to a minimum!! :)


This gorgeous FF bear was coloured in my usual PMs and has just a bit of Stardust pen smudged around the top and base of the heart :) I wish I knew what colours I’d used for the heart as I actually like the patchy effect now... but I didn’t like it at all when I did it, typically, so didn’t bother to note them down!! :(


A couple of close ups of the layers and embossing- this was the best I could do to try and show the embossing... it isn’t the deepest embossing as the Doeflex isn’t that thick but, to be honest, I would have been afraid to put my lacy rectangle through a normal embossing folder as it would have ripped the edges so that’s a good thing really!!lol I did sand everything to add to the more masculine feel in the end, too, and it was more than deep enough for that to work a treat- I particularly love the contrast on the black card!! :) The little hearts in the top of the rectangle are the ‘waste’ from the circle and a border cut file I also created but ended up not using as it made it look just too busy!! :)


And a little close up of my paper :)

The List:
  • 6” Sq. White card blank
  • Forever Friends wooden stamp by DoCrafts, stamped in Memento Rich Cocoa and coloured with PMs (usual colours for the bear- Ivory, Vanilla, Oatmeal and Sunkissed Pink- and not sure on the heart)
  • My own design digi paper
  • Core’dinations cardstock- red from the vintage selection, grey and black from an All-in-the-Family pack
  •  My own design embossing mask and cut files for the heart circle and lacy rectangle, created in my graphics program and cut on my Cricut
  • Distressing Tool for the paper edges and sanding thingy (mine is a flower shape!!lol) for all the card
  • Black Bakers Twine
  • Red Stickles
  • Sakura Clear Stardust pen
  • Black gems


I’d like to enter this card in the following challenges: Sweet Stampin’ – Animals :) ; Cards for Men – Seeing Red :) ; Pollycraft – My Favourite Things (lots of them- FF bears, creating my own papers and ‘nestie’ shapes, Stickles and my Stardust pen... there are probably more but that’ll do!!lol) :) ; PaperSundaes – Valentine’s :) ; Allsorts – One or More Hearts (think I *might* have this covered!!lol) :) ; Joanna Sheen – Love is in the Air :) ; Ladybug Crafts – Loves Me, Loves Me Not :) ; Craft Your Days Away – Distressing :) ; Bling It On – Love :) ; My Mum’s Craft Shop - Fab & Funky :)

So that’s my card- hope you like it!! :) Thanks for stopping by today and for all the comments on my last two cards- I forgot to say in the post for my sis’ card that, when I said I hoped she didn’t mind how simple it was compared with the ones I’ve made her in the past, she said she thought it was her fav of all the one’s I’d made her... well, that’ll save me some time and energy fussing with papers and extra embellies next year then!!lol  :) Please do pop over to the FF blog to have a look at the cards from the rest of the DT and I hope you’ll join in with us, too!! :) I’ll be back with my next Dream Valley DT post at the weekend, if I don’t make it before... which is unlikely as this week has turned out to be incredibly hectic with no sign of a let up yet and so I’m struggling a tad and should probably rest not post again!!lol In the meantime, I hope you are all well and having a good and crafty week!! :)  


Thursday, 5 January 2012

Happy New Year... and Shaped Cards at Forever Friends :)

Hello Bloggers!! :)

Well, I think it’s time to finally wish you all a very Happy New Year and, come to that, Happy Christmas, too!! :) I really thought I’d be able to get back on my blog in time to do both those things but the madness that is the month before Xmas in my family, with my sis’, mine and my mum’s birthdays plus Xmas, meant my body had other ideas and I just haven’t managed it... permanent exhaustion aside, though, I did have a lovely time and thank you for all the birthday wishes on my last post!! :) I hope you all had a lovely time, too, and found yourselves with lots of new crafty goodies to enjoy!?! I didn’t get much crafty stash for Xmas but I got some money to spend on it instead- people have preferred to do this since they started to see my obsession with crafting and it suits me just fine as I get to shop in the sales and get exactly what I want!! :) I also got given a Kindle (Yay!!! :D) and, as I was planning on trying to save my birthday and Christmas pressie money- not mentally spend most of it on craft stash before I even had it like last year!!lol- to buy one, I decided to use the extra money and treat myself to a Grand Calibur :) I’ve been looking wistfully at them for a while but kept telling myself I didn’t need one- and where would I find to put it anyway?!lol- but have given in as I just keep finding myself having great ideas for cards/projects and then realising they would be impossibly tricky- or just plain impossible- in my lovely little ‘Bug... so come on Mr. Postie, I want to play!!lol   *** ETA: It's arrived!! :D lol ***


Anyway, it’s time for our first challenge of the year at Forever Friends & Co. And this time we want to see ‘Shaped Cards’... any shape you like so long as it’s not square!! :) We’re sponsored this time by the fabulous Ribbon Girl!! :)


I made this card on Boxing Day for a good friend who’s birthday is on the 27th Dec.- one year I *will* be prepared and have her card ready before Xmas rather than struggling to find the energy straight after but not this time, so I combined this and the challenge... I’ve been wanting to try a circular easel card for quite a while and never got around to it- ‘til now...


I thought it might seem a bit small as I still only have regular Nesties and my little ‘Bug at the mo’, but I think, as an Easel card with the extra surface area that gives, it’s actually quite sweet and the small area means you can have fun with embellishing!! :) I cut the base from a card blank and another circle from a second blank for the top, then cut more circles from two gorgeous new First Edition pads, which I got before Christmas but hadn’t used yet, to layer on top :)


The image is one of my fav FF stamps and is coloured with my usual PMs- I almost always stamp more than one of the FF bears (and all other stamps, just in case I go wrong with colouring...which happens a lot!!lol) but I always colour the spare bears and just leave the extra bits- in this case the flowers- uncoloured... then I have a nearly ready image that I can finish colouring quickly to match whatever I need if I’m in a rush or not well enough to colour from scratch :) I used a tag from one of the paper packs and added some seam binding, lovely butterflies and my staple pearls :)


For the stopper I used a border from one of the paper packs, then embellished with a swirl and a flower I have had sitting in a pot on my desk for months, which just matched perfectly... I made the flower myself from a cut file I designed for my Cricut last year and had a few spares as I really enjoy sitting making them up but have now run out so best get making some more!! :) I have used them on a few special cards already- just haven’t got around to blogging those quite yet!! :S


The List:
  • Two white card blanks to make the base
  • Nesties- Circles Large and Petite Scalloped Circles Large
  • First Edition Paper Pads- Spring Feast and Birdsong
  • Forever Friends wooden stamp from DoCrafts, stamped in Memento Rich Cocoa and coloured with ProMarkers: Bear- Ivory, Vanilla and Oatmeal with Sunkissed Pink for ears and cheeks; Flowers- Pale Pink and Cocktail Pink, Buttercup, Green Whispers Marker fineliner for stems
  • Handmade flower- made with Hi-5 Pearl paper and my own digi cut file
  • Marianne D Swirl die
  • MS Large Monarch Butterfly punch
  • Sentiment is an old Anita’s one
  • Cream Seam Binding from The Ribbon Girl
  • Stickles- Diamond, I think!?!
  • Sakura Clear Stardust pen
  • Pale Green and Pale Pink Flat-backed Pearls


So, a pretty simple card in the end but the lovely papers make all the difference!! :)

I’d like to enter this in the following challenges: Bunny Zoe’s Crafts – Fancy Folds/Shaped Cards :) ; TheSecret Crafter – Anything Goes :) ; Papertake Weekly – Anything Goes plus optional ‘something new’ (my papers) :) ; Paper Sundaes – Out with the Old, In with the New (Old- stamp, New- Papers) :)

Thanks for stopping by today and for all the lovely comments on my last cards- please do pop over to the FF blog to what the rest of the fab team have created to inspire you and don’t forget that you don’t even have to use and FF image to enter- though we’d really love it if you did!! :) – but you must have an animal on your creations!! :)

See you again soon, I hope- I have plenty to share if energy allows, my lack of blog posts before Christmas was mostly down to the amount of actual crafting I was trying to get done, after all!!lol


Sunday, 31 July 2011

Happy Mother’s Day... a wee bit late!! ;)

Hello Bloggers!! :)

Well, it's been too long since my last post again! :S There's been a lot to deal with here lately- and most of it far too stressful and unpleasant to tell you about here- and I'm still struggling healthwise, too... I've managed to make a few cards as I've needed them but had no chance to get the photos edited or write a post! :( Anyway, I'm really missing blogland and don't like how neglected my blog is looking so have dug out some already edited pics if my mum's Mother's Day card which I never got round to sharing and I'll attempt to keep my explanation brief... 'fat chance!' I hear you cry!!lol


I know at the time I had a bit of a nightmare with making this, but I can't really remember why now... which probably means it was more to do with my brain malfunctioning than anything else!lol Anyway, I always try to do something different or use something new for my Mum's cards as she sees- and often helps with, due to my mobility/strength issues- almost all my cards and this time I decided to try a Centre Stepper Card. I made a Side Stepper last year and was not enamoured with it at all- it just looked and felt very awkward and unbalanced to me! :S lol - but I really like this version and think it's a great way to frame an image :)


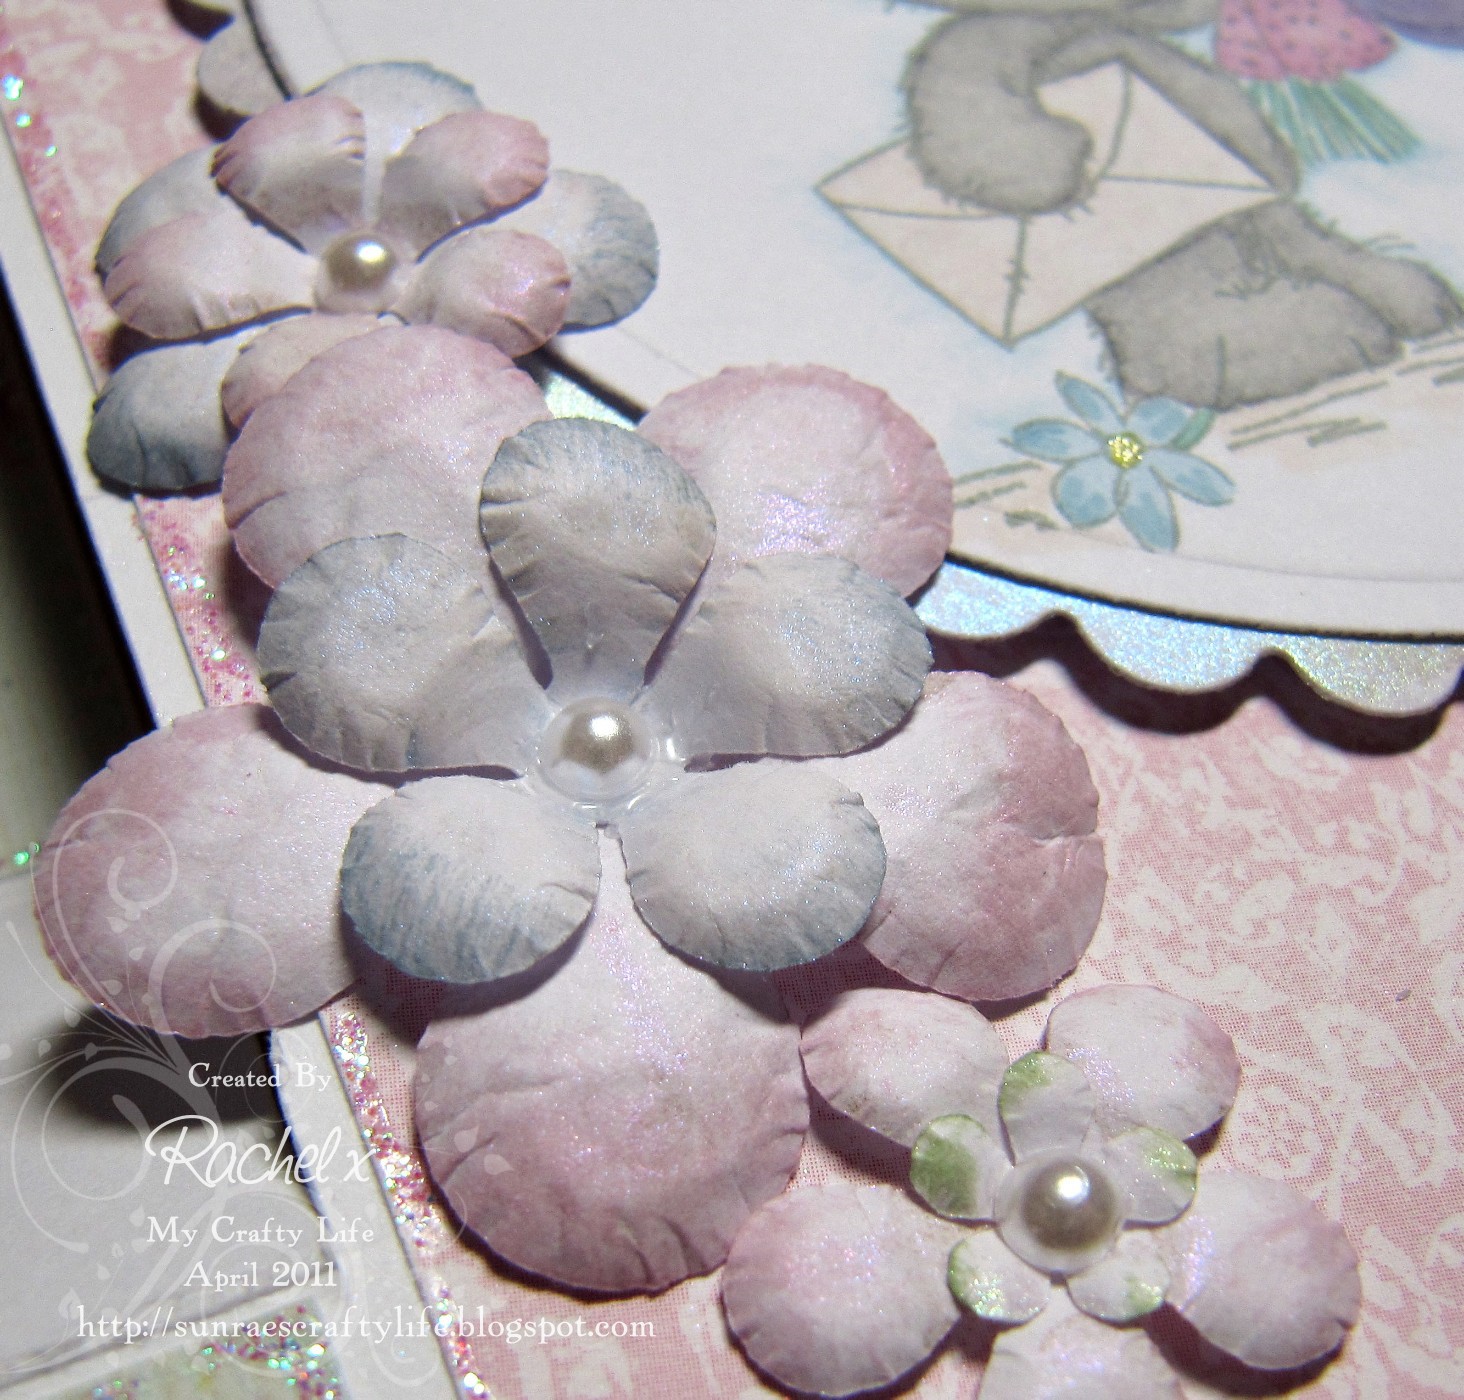
The adorable image is, if course, from Lili of the Valley and I coloured with PMs as well as copious quantities of Stardust pen!! :) I also used the Mica Powders I got in the Xmas sales for the first time on the scalloped circle... so pretty!! :)


The flowers were cut on my Cricut and were another first- the first cut file I designed myself in my graphics program after getting the cutting software for my Cricut... the software paid for itself in this card alone as I'd been contemplating the set of punches in this shape for ages and now I can have them in as many sizes as I like- and with no wrist pain from punching either!! :D :D I stamped a swirl on these and dusted Mica on to it but it mostly came off when I embossed them from the back (who’d have guessed- told you my brain was useless at the time!!lol) to get the shape and depth :S Still, they do shimmer prettily at least!!lol


The list:

  • A5 Scalloped white card blank
  • Lotv image, stamped in Memento London Fog and coloured with PMs
  • Sakura Clear Stardust pen
  • Nesties - Circles and Petite Scalloped Circles Large
  • Perfect Pearls 'Interference' Mica Powders and Versamark pad
  • Memory Box Gossamer papers
  • Cricut to cut flowers- from 100gsm office paper- and 'Mum'
  • Crystal Stickles
  • White Pearls

I’d like to enter this in the following challenges: Allsorts – Free and Easy :), Totally Papercrafts - Bling It Up :) ; I Promarkers - Anything Goes :) ; Stamp Something - Summer :)


Well, thanks for stopping by!! :) I don’t when I’ll be back as the stuff that’s draining my energy will be doing so for a while yet I think... but I’ll be back if I can as the odd bits of card making and blog reading I’m managing are about all that’s keeping me sane!! Thank you for all the comments on my last couple of cards so long ago-it always means alot!! :) Hopefully I will catch a break before *too* long and have a chance to recharge and feel able to leave some comments myself!! :S Hope you’re all having a good summer so far- we even had a fair bit of sun this week... maybe it really is summer!?! Wow!! lol


Sunday, 19 June 2011

Krafty Father’s Day... :)

Hello!! :)


Thought I'd just attempt a quick post (or maybe two if I can manage it :) ) to share my Father's Day cards with you... don't want to leave it and end up with them still waiting to be posted three months later like my Mother's Day one is!! :S lol

This one is my Dad's and is the card I was intending to make as my DT card for the PCC Un-coloured Image challenge which I missed a few weeks ago... a great idea for a challenge and one that's given me lots of ideas :)


My Dad is a keen photographer and so I thought this lovely vintage style camera, from a SeeDs set I've has for years, would suit him well, and the gorgeous sketchy way the images in this set are drawn make them perfect for leaving uncoloured... I could have chosen almost any from this fab set for this challenge but decided I should do something I needed rather than get carried away with the pretty dress form or the beautiful lady!!lol :) They heat emboss beautifully, too, despite being so detailed :)


I finally used my gorgeous Papermania Hampstead papers which I've had almost a year and never got round to making anything with, shame on me! Think they're just too nice to use on any old card- or that's my excuse anyway!lol The fancy border and 'Nestie'-esque circle were cut on my Cricut using SVG files I designed in my graphics program... I've designed quite a few but not been upto getting the Cricut out to try cutting them so this was my first chance to see if they worked and I'm quite pleased but think I'm maybe designing a bit too small and fiddly for getting the best cut from it... but I'm learning all the time and loving it so there'll be more like this!! :)


The 'Dad'  and corners were also cut on the Cricut. I'm still having to work from my bed atm but, despite the worry of getting dark brown ink on my lovely purple bedding, I decided a Vintage-inspired card simply wouldn't look finished without a bit of Distress Ink here and there!lol Stopped short of getting out my Distressing Tool though as my energy levels wouldn't have run to that!! ;)

The list:
  • 7"x5" Kraft card blank - Papermania
  • Image from SeeDs Vintage stamp set
  • Heat Tool, Versamark ink and detail gold embossing powder
  • Nestie Circles
  • Vintage Photo DI
  • Papermania Hampstead papers and self-adhesive fabric ribbon
  • Gold Linen-texture cardstock from C&C
  • Cricut
I'd like to enter this in the following challenges: Bows & Berries - Masculine :) ; Dream Valley - Father's Day :) ; Papertake Weekly - Dads and Lads :) ; Crafty Sentiments - Father's Day :) ; Little Claire's Designs - Cards for Men :)


Out of curiosity I coloured the spare embossed image (very quickly and carelessly so no need to look too closely at that!!lol) and laid it on the finished card to see how different it might look to the uncoloured version... the slip-shod colouring aside, I think I actually prefer the uncoloured version- more varied ligh and shade on such a dark card... plus it's just a little nit different which is always good!! :) What do you think?! :)


Thanks for stopping by- I'll hopefully be back tomorrow with my Grandad's card! :) In the meantime, I hope you're all well and lucky enough to have seen some sunshine this weekend- this evening here in Manchester was lovely and bright!! :) oh, and thank you for the lovely comments and get well wishes after my last post!! :) I'm still feeling pretty rough but thought I’d try to write a post that wouldn't bore you all (or me!) with more on that one again!!lol


Friday, 13 May 2011

WOW at LIM

Hello Bloggers!! :)
Woohoo- as Blogger's decided to start working again I'm going to get my LIM post pasted in while the goign's good!! Only been waiting all afternoon- was really quite upset at the thought of missing a week!! :S lol

A very quick post (assuming Blogger decides to start working again in time... I’m typing this in Word to copy and paste with my fingers crossed!! :S ) with my card for this week’s LIM challenge- week 14 already and I’m still loving it!! :) We’ve been asked to make a true White on White card with no colour at all this week- my effort is not a particularly good one as I’ve been feeling pretty awful this week but I’ve wanted to try WOW for ages and of course didn’t want to miss a week of LIM so made this in bed over a couple of days, mainly with stuff I had knocking around on my desk to save energy... and some help with anything that needed any bit of strength!! :S lol


     The list is probably all the explaining necessary... I used:         
  • White DL card
  • White card for layers
  • MS large butterfly punch
  • Butterfly cut on Cricut
  • X-cut Scalloped Border Punch
  • Nellie’s Die for main square
  • Stickles in Crystal and Frosted Lace
  • Cherry Blossom Border- my own design SVG file cut on the Cricut

Think I may have gone a tad overboard with the Stickles!!lol Not sure I’m really happy with it but I don’t think that’s because I don’t like this card so much as because I didn’t get to make the more interesting one I had in mind before I caught the cold that floored me for the week (wasn’t really a bad cold but any bug on top of the M.E. is pretty bad as it makes all the M.E. symptoms worse for far longer than the cold lasts)!! :S But maybe I’ll have some spare energy sometime this year to have a go at that one, too!!lol Hope the Crystal Stickles isn’t too much colour, too- has come out a bit strong as I was so heavy-handed with it!! To be honest I had to fight the instinct to add some ink to the edges the whole time... just as well I couldn’t get to my desk and my Cut’n’Dry!!lol

I’ve missed blogland so much this week while I’ve not been up to getting online and really hope I can catch up with your creations soon before the withdrawal symptoms get too much!!lol Don’t think I’ll be managing many comments for a while, though- my arms are killing me just from typing this in stages!! :S Anyway, I hope you’ve all had a better week than I have and enjoy your weekends!! :)

Edit: Wow- just had a qick look at the LIM linky while scroling through to add mine... really hope I'll have the energy to check a few of those cards out more closely soon- they look amazing!! :)


Monday, 2 May 2011

Happy 21st – Numbers at My Partner in Crafting Crime

Hello bloggers!! :)

It’s time for another new challenge over at My Partner in Crafting Crime- where does the time disappear to!?! I swear some little imp or sprite (or any other faintly mischievous fantasy creature you can think of!!lol) magics entire days away while I’m not looking- ah, wait- it just occurred to me as I wrote that that that’s what I have M.E. for, no fantasy creatures needed here thank you very much!!lol  But on to the important bit... this frotnight at PCC we'd like you to ‘Incorporate Numbers’ in your projects- you can create anything you want for any occassion so long as the numbers are an obvious feature!! :) I decided to get ahead as I know I’ll need a masculine 21st card in a month or two (this is unprecedentedly prepared for me... and I will probably have lost track of the card under a pile of paper and stamps by the time I need it!!lol) and this is what I made:


I decided to have a play with my recently acquired Sure Cuts A Lot software- which is truly amazing and has already meant my Cricut has been used more in the last month or so that it has in the several years since I got it!! :D I made the cut files myself very simply with the program, using a font I found online called 'Little Trouble Girl BV' and shapes from within Scal, by creating shadows of the original numbers and copying, flipping and welding the shapes to create the blank with a border for the numbers to sit on and a base for the greeting which adds stability, too. 


Once the layers were cut I ran the ‘2’ and ‘1’ through my ‘bug to emboss them for some texture and heat embossed the greeting in silver sparkle powder on the base panel. Then I decided it still looked a bit flat and lacking something, so I dabbed some Versamark around the edges of the numbers and rectangle and heat embossed with the same powder, which made it look much more interesting and slightly rough-around-the-edges (mainly because it's impossible to be neat with this technique in my experience!!) which seemed not to be a bad thing in a masculine card!!lol Then it was just a case of sticking all the pieces together with foam pads of two heights for interest and adding some Stickles to the stars- masculine perhaps, but still room for a bit of sparkle!! :D


This shot shows the card open just for curiosity’s sake!! :)

The ‘List’:
  • Thick white card for base
  • Blue pearlescent (from stash) and silver linen textured satin-finish (from C&C) cardstock for numbers and shapes
  • Cuttlebug Spots & Dots Embossing Folder
  • Woodware clear Magic Retro Words stamp set
  • Versamark Inkpad
  • Silver Sparkle Embossing Powder
  • Heat tool
  • Stardust Stickles
  • Cricut/Scal
I’d like to enter this in the following challenges: Aly's Sunday Challenge - Shaped Cards :) ; OSAAT - Emboss It! :) ; Cupcake Craft - Something beginning with 'C' (the circles in my embossing) :) ; Crafts 4 Eternity #17 - Anything Goes :) ; DYSU - Make It Pop! :) ; Totally Papercrafts - Glitter :) ; Bunny Zoe's - One For The Boys :)

I hope you’ll pop over to My Partner in Crafting Crime to see the fabulous creations the other girls on the DT have come up with this time and then I hope you’ll join in yourself for the chance to win a fab prize from Bows & Berries Digital Stamps!! :)

Hope you’re all well and still enjoying this latest long weekend!! :) Thank you so very much for all the lovely comments on my latest cards- they hugely cheered me up and I will do my upmost to get around to visit a few more of you lovely people just as soon as I can!! :) :)


LinkWithin

Related Posts Plugin for WordPress, Blogger...